How to Clean Dr. Brown’s Bottles: Supplies & How to Guide
As a new parent, ensuring that your baby’s feeding equipment is clean and hygienic is of utmost importance. Dr. Brown’s Bottles are a popular choice among parents due to their unique design that reduces colic and discomfort in infants. However, these bottles require proper cleaning to maintain their effectiveness and prevent the buildup of bacteria that can harm your baby’s health. In this blog post, we will provide a step-by-step guide on how to effectively clean your Dr. Brown’s Bottles. We will also discuss the materials needed for cleaning and offer additional tips to ensure that the bottles are thoroughly cleaned.
Materials Needed to Clean Dr. Brown’s Bottles
It’s important to gather all the required items before beginning the step-by-step cleaning instructions for Dr. Brown’s Bottles. The cleaning procedure can be made more successful and efficient by using the proper equipment and supplies. The supplies you’ll need for cleaning your Dr. Brown’s Bottles are listed below, along with an explanation of each item’s significance.
Dr. Brown’s Bottles and their components
It’s essential to have all the bottle parts, including the bottle, nipple, collar, and vent system, for thorough cleaning. Disassembling the bottles and cleaning each part separately will ensure that all areas are clean and free of bacteria.
A bottle brush
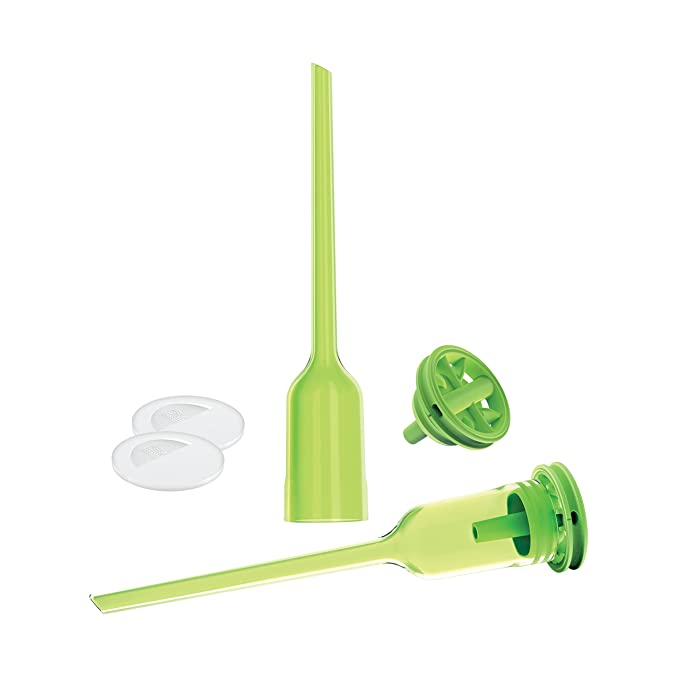
The unique design of Dr. Brown’s Bottles with small crevices and a narrow neck can make them challenging to clean effectively. A bottle brush with soft bristles can reach these hard-to-reach areas and scrub off any residue, ensuring a thorough clean. Dr. Brown’s bottles that come with the green vent system come with a pipe cleaner like brush to help clean inside the round vent holes and the stem. If you need a replacement for your “Dr. Brown’s Natural Flow Cleaning Brush” they can be purchased on Amazon.
Mild dish soap or specialized bottle cleaning soap
I prefer to use a gentle dish soap with no fragrance, like seventh generation, or a specialized bottle cleaning soap such as Dapple. These products will remove any milk, formula, or food residue from the bottles without damaging the material. When running the bottle through the dishwasher I also use unscented or fragrance free dishwasher detergent or pods.
Hot Water
Hot water is an effective way to kill bacteria and germs, making it crucial for thorough bottle cleaning. Using hot water in a collapsible wash basin or running bottles through the dishwasher on the top rack will help get bottles and parts good and clean.
A Clean Towel or Dish Rack for Drying
After washing, it’s essential to dry the bottles and components completely to prevent the growth of bacteria. Using a clean towel or a bottle drying rack is an effective way to air dry your bottles.
Bottle Cleaning On The Go or Traveling
When exclusively pumping or traveling, having supplies to clean your baby’s bottle can definitely help out when the time comes. I really love this MOTH”ER-K Travel Baby Bottle Drying Rack Set” that comes with a collapsible drying rack, bottle brush, and small bottle to hold soap. It makes cleaning on the go super easy. I also love using Dapple wipes to clean bottles
Step-by-Step Guide on How to Clean Dr Brown’s Bottles
Now that you have all the necessary materials, let’s dive into the step-by-step guide on how to clean your Dr. Brown’s Bottles effectively.
1. Pre-rinse the bottles:
Before washing, rinse the bottles and their components thoroughly with hot water to remove any visible residue.
2. Disassemble the bottles:
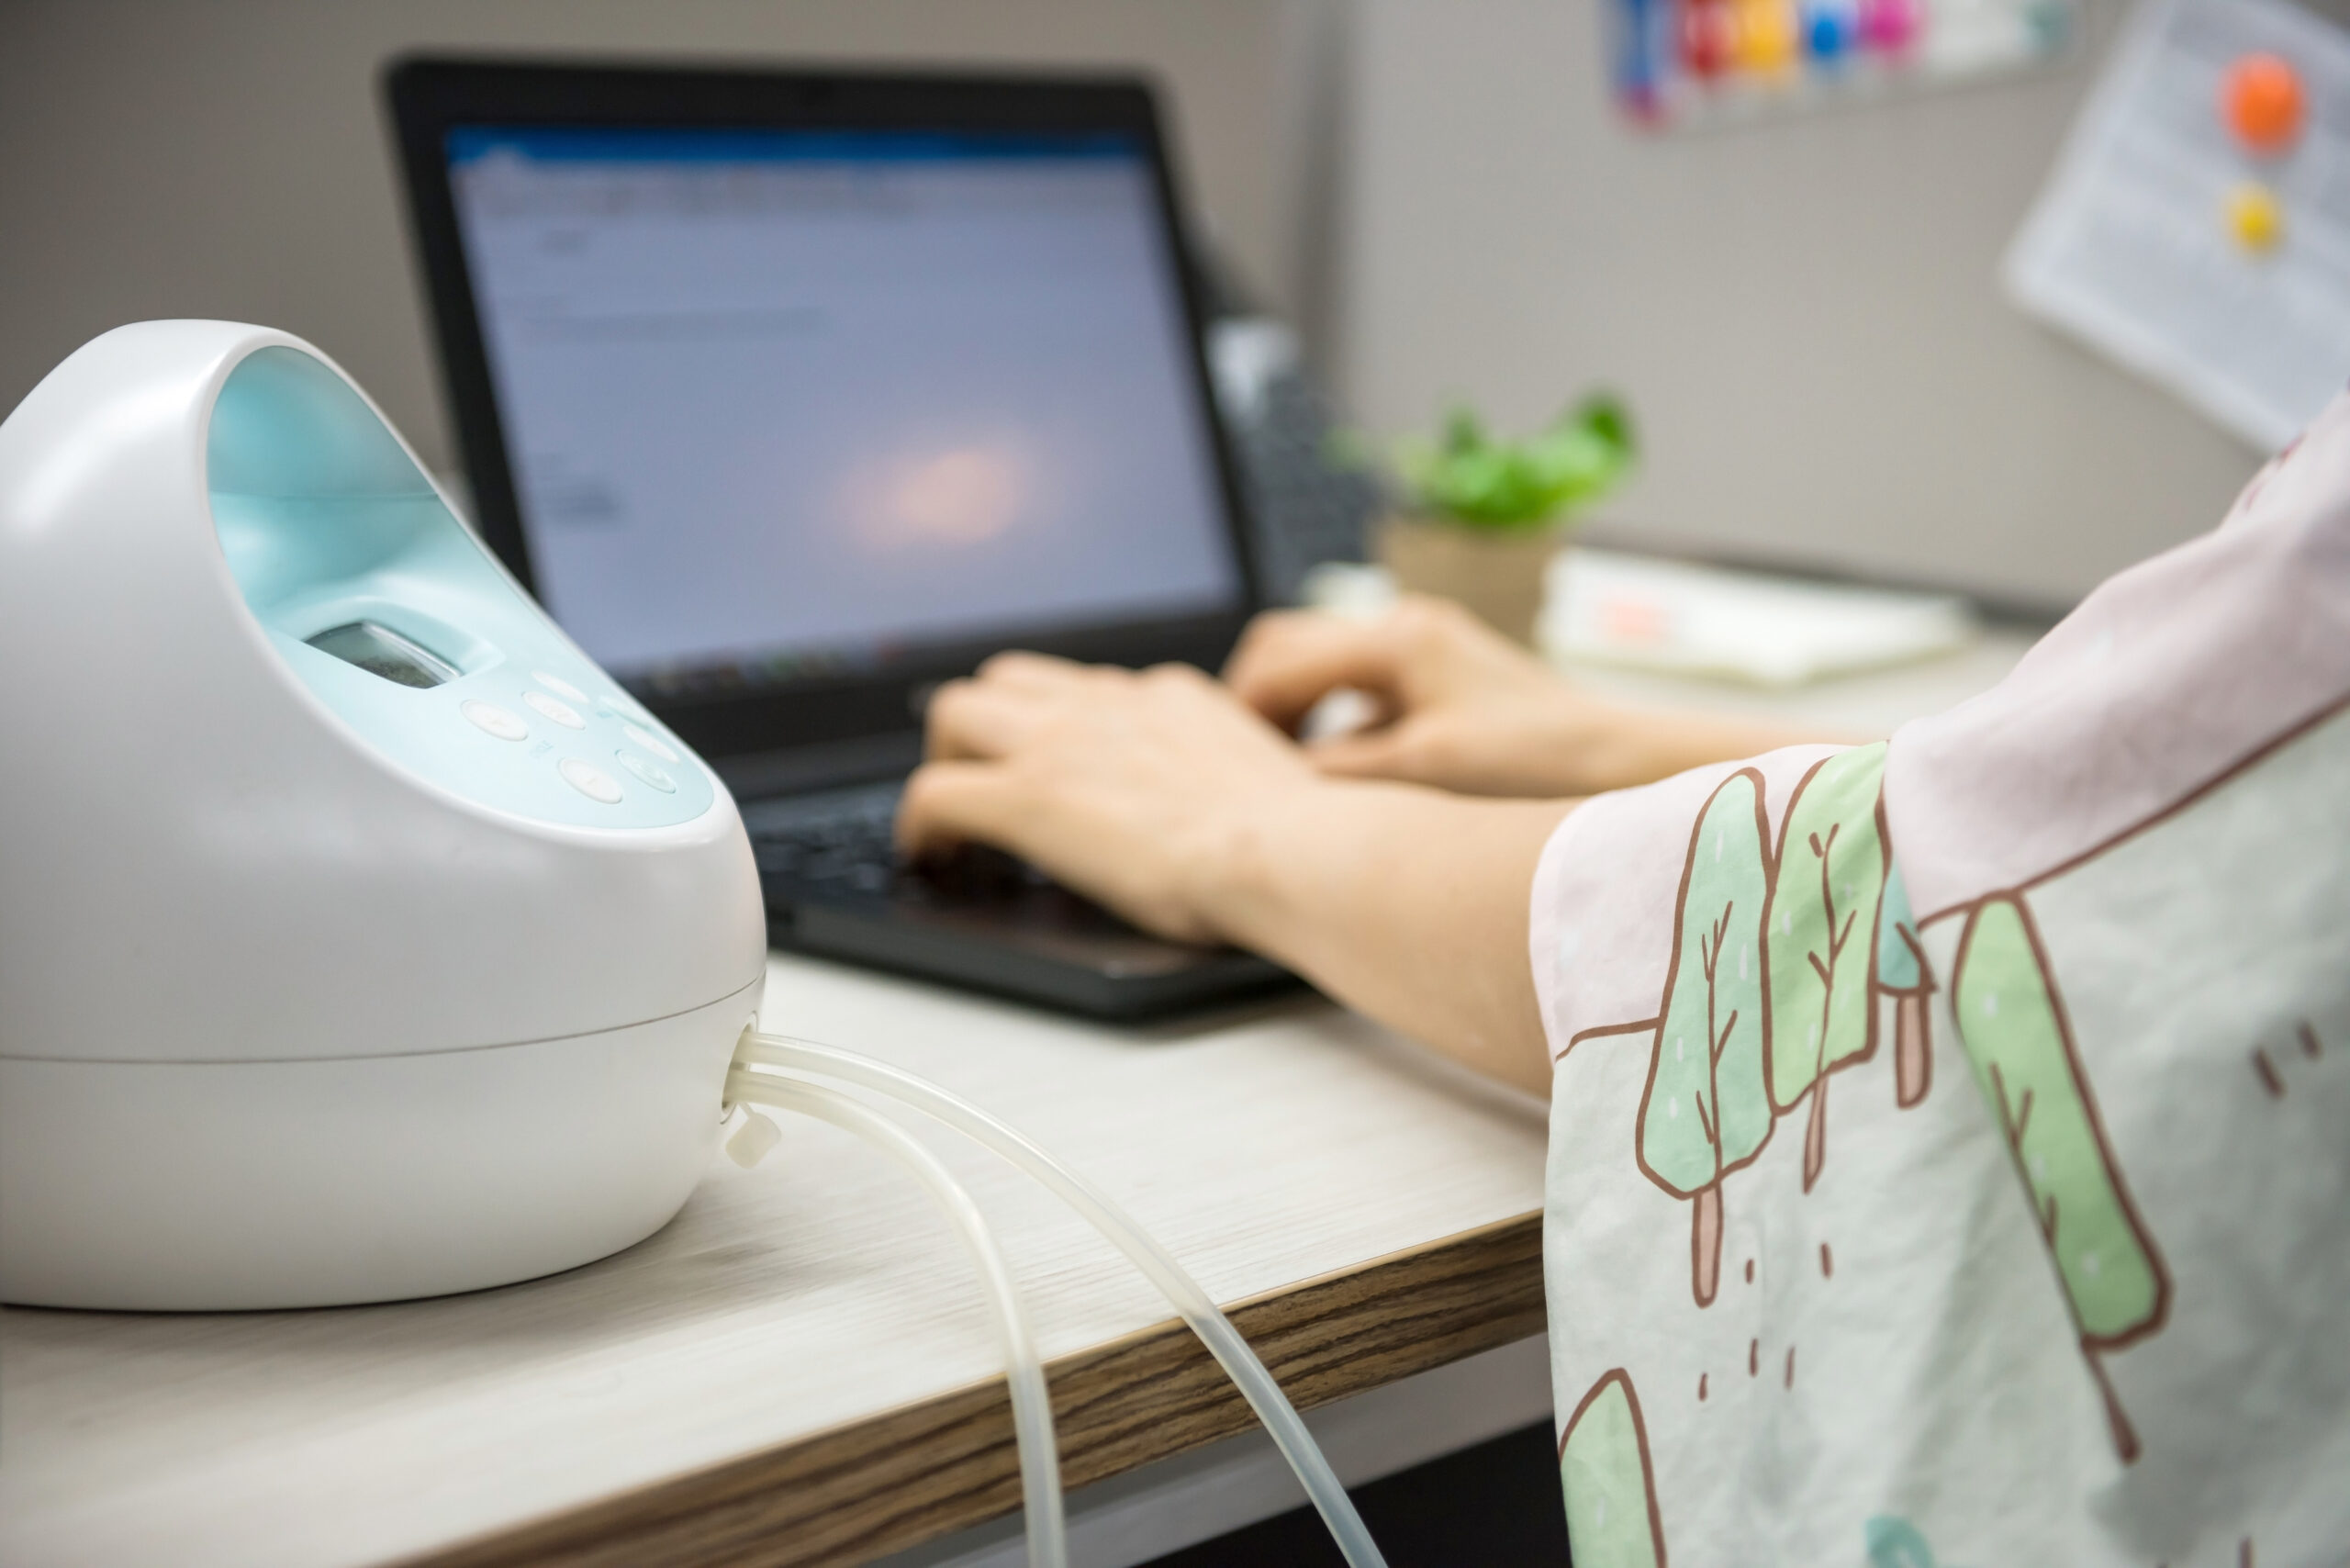
Remove the bottle nipple, collar, and vent system and separate them for thorough cleaning. A commonly asked question we get all the time is what’s the best pump when exclusively pumping? Our go to is the Spectra breast pumps. Check out Comparing Spectra S1 vs S2 Breast Pumps (2023).
3. Clean the bottles and parts:
Add a few drops of mild dish soap or specialized bottle cleaning soap to a bottle brush and gently scrub the inside and outside of the bottles, including the neck and bottom. Pay attention to any hard-to-reach areas, such as the vent system, and scrub them thoroughly. Use a clean bottle brush to clean the nipple and collar.
4. Rinse and dry the bottles and parts:
Rinse the bottles and their components thoroughly with hot water to remove all the soap residue. Shake off any excess water and dry the bottles and parts completely with a clean towel or place them on a dish rack to air dry.
Tips for Effectively Cleaning the Bottles
1. Use a bottle brush:
A bottle brush with soft bristles is the best tool for cleaning Dr. Brown’s Bottles effectively.
2. Pay attention to hard-to-reach areas:
The vent system and other small crevices in the bottle’s design can harbor bacteria, so it’s essential to scrub these areas thoroughly. Make sure to run the pipe cleaner like brush through the small holes on the side of the vents and into the stem part of the round vent. The pipe cleaner can also be used to clean the long hollow component that sits on the round piece.
3. Use hot water:
Hot water is an effective way to kill germs and bacteria, so ensure that the water used for washing and rinsing is hot.
4. Avoid using abrasive cleaners:
Abrasive cleaners can damage the bottles and their components, so avoid using them for cleaning.
Following these steps and tips will ensure that your Dr. Brown’s Bottles are thoroughly cleaned, free of bacteria, and safe for your baby to use.
Additional Considerations When Cleaning
In addition to cleaning, there are a few other considerations when it comes to taking care of your Dr. Brown’s Bottles.
Sterilizing the Bottles
While cleaning your Dr. Brown’s Bottles is important, it’s also a good idea to sterilize them regularly to kill any remaining bacteria. Sterilizing is especially important for newborns and infants as they have a weaker immune system.
There are several ways to sterilize your bottles, including boiling them in water for five minutes, using a microwave sterilizer, the top rack of your dishwasher, or using an electric steam sterilizer. I preferred to wash the bottles by hand in the sink and run the bottles through the dishwasher to sterilize. Follow the manufacturer’s instructions carefully to ensure proper sterilization.
Storing the Bottles
After cleaning and sterilizing, it’s important to store your Dr. Brown’s Bottles properly. Keep them in a clean, dry place, away from any potential sources of contamination. Make sure that the bottles and their components are completely dry before storing them.
Are Dr. Brown’s Bottles Dishwasher Safe?
Dr. Brown’s Bottles are dishwasher safe, but it’s recommended to place them on the top rack of the dishwasher to avoid damage from the dishwasher’s heating element. It’s also essential to follow the dishwasher manufacturer’s instructions for proper use. Dr. Browns also has a dishwasher bag that holds small parts and is used on the top rack of the dishwasher. I really prefer the OXO tot dishwasher basket because it was able to hold 6-8 bottles worth of vents and small bottle parts.
When to Replace the Bottles
Dr. Brown’s Bottles are made of durable materials and can last for a long time with proper care. However, it’s essential to replace them if there are any signs of wear and tear, such as cracks or scratches. Also, replace the bottles if you notice any discoloration or if they start to smell unpleasant, even after cleaning and sterilizing.
The vents hold up well with proper cleaning and care but I would recommend to start watching them closely after 6 months of consistent use. Our daughter would experience some gas as we were introducing open straws and cups up until she was about 10 months old. So we were still using the vents with her bedtime bottles to help prevent gas before bedtime. We found that the round portions of the vent began to become discolored and we began to replace the ones that were showing signs of wear until we reached the 8 month mark.
By following these additional considerations, you can ensure that your Dr. Brown’s Bottles are always clean, sterile, and safe for your baby to use.
Final Thoughts on Cleaning Dr Brown’s Bottles
In conclusion, cleaning Dr. Brown’s Bottles is crucial to ensure that they are free of bacteria and safe for your baby to use. By following the step-by-step guide and tips provided in this post, you can clean your bottles effectively and efficiently. Additionally, sterilizing, storing, and replacing the bottles when necessary are important considerations to keep in mind to maintain your bottles’ cleanliness and safety.
In summary, always remember to rinse, disassemble, clean, rinse again, and dry your Dr. Brown’s Bottles thoroughly. Use a bottle brush to clean all areas, pay attention to hard-to-reach areas, and use hot water for washing and rinsing. Also, avoid using abrasive cleaners and replace the bottles if necessary.
Hopefully this post has been helpful and informative for new mothers who are looking for guidance on cleaning Dr. Brown’s Bottles. If you have any questions or comments, feel free to leave them in the comments section below. Knowing how to properly clean these bottles was a life saver during my first year of being a new mom!
Lastly, if you found this post helpful, please share it with other new mothers who may benefit from this information.

Hi there! I'm Alyson
The founder of Practical Little Life, a blog dedicated to sharing my experience as a stay-at-home mom with a passion for motherhood, minimalism, & food!
Read MoreLatest Posts...